Homemade Granola Mix
I will always be a baker at heart. Pastries and desserts will always be a passion of mine. However, over the last year, I’ve discovered a new passion. That passion is fitness. A girl who used to avoid working out like the plague now can’t get enough of it. Going to the gym is fun for me now. I’m so proud of myself. Admittedly, the nutrition piece is an adjustment though. There are some things I just can’t do as of now (looking at your brown rice). However, there are some things that I’m discovering that are healthy but also very tasty. This granola mix is one of my new favorites in that category. It’s so easy to make and it’s so tasty. It tastes like an oatmeal cookie almost. I love eating it straight out of the bowl after a workout or in the morning. It’s so good and versatile. Give it a try.
REASONS YOU SHOULD TRY THIS RECIPE:
- healthy and delicious on-the-go snack
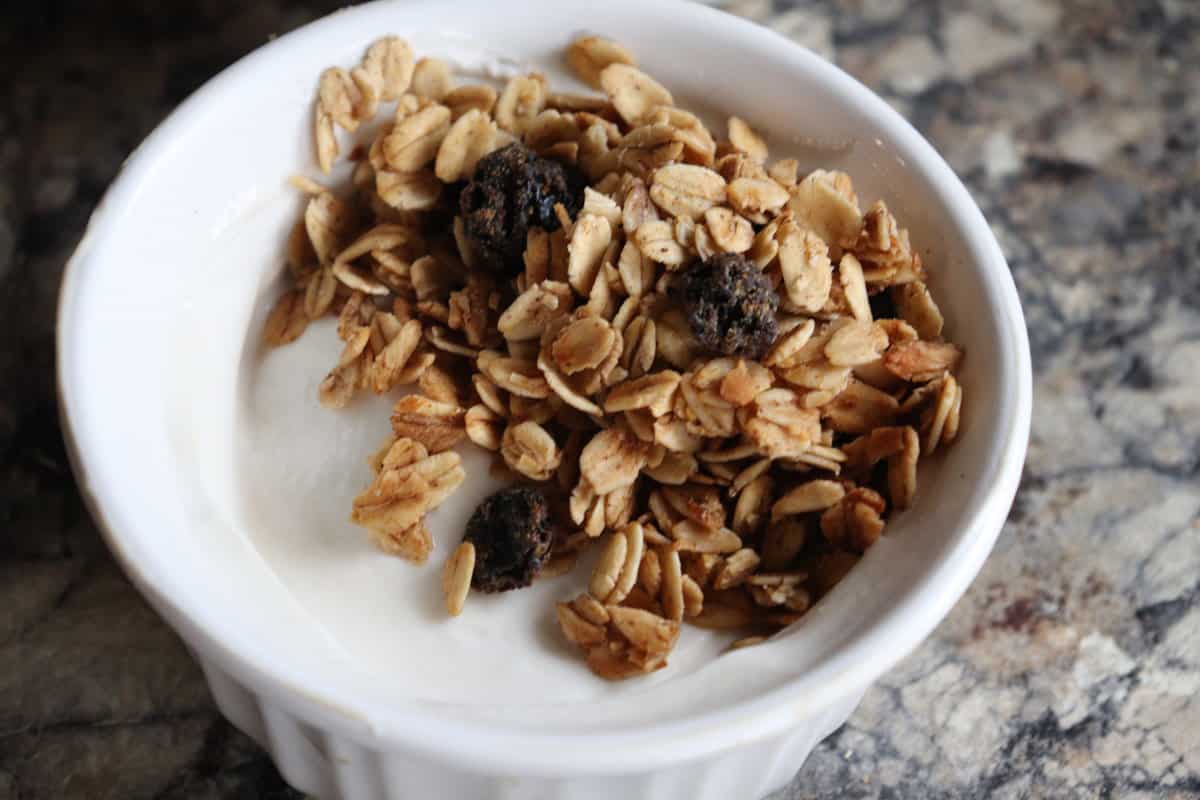
- great morning breakfast snack or topping for your yogurt or oatmeal
- very easy to make
INGREDIENTS FOR HOMEMADE GRANOLA MIX:
- vegetable oil – you can also use coconut or peanut oil
- rolled oats – great for our granola
- salt – brings out the rest of the flavors
- vanilla extract – adds just a bit of sweetness
- maple syrup – adds sweetness; you can sub coconut oil instead
- ground cinnamon – adds a bit of warmth to our mix
- light brown sugar – more sweetness and helps with coloring
- add-ins – these can be raisins, chocolate chips, walnuts, or anything else your heart desires
HOW TO MAKE HOMEMADE GRANOLA MIX:
GRANOLA MIX
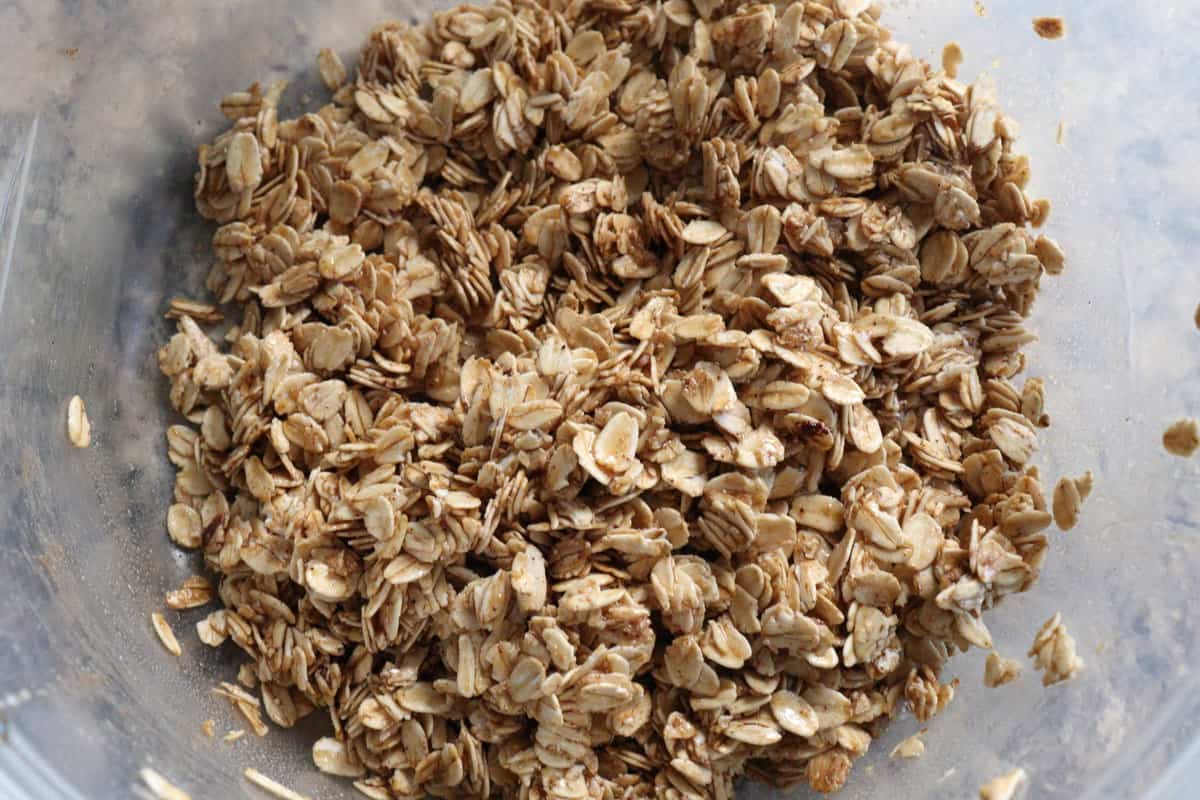
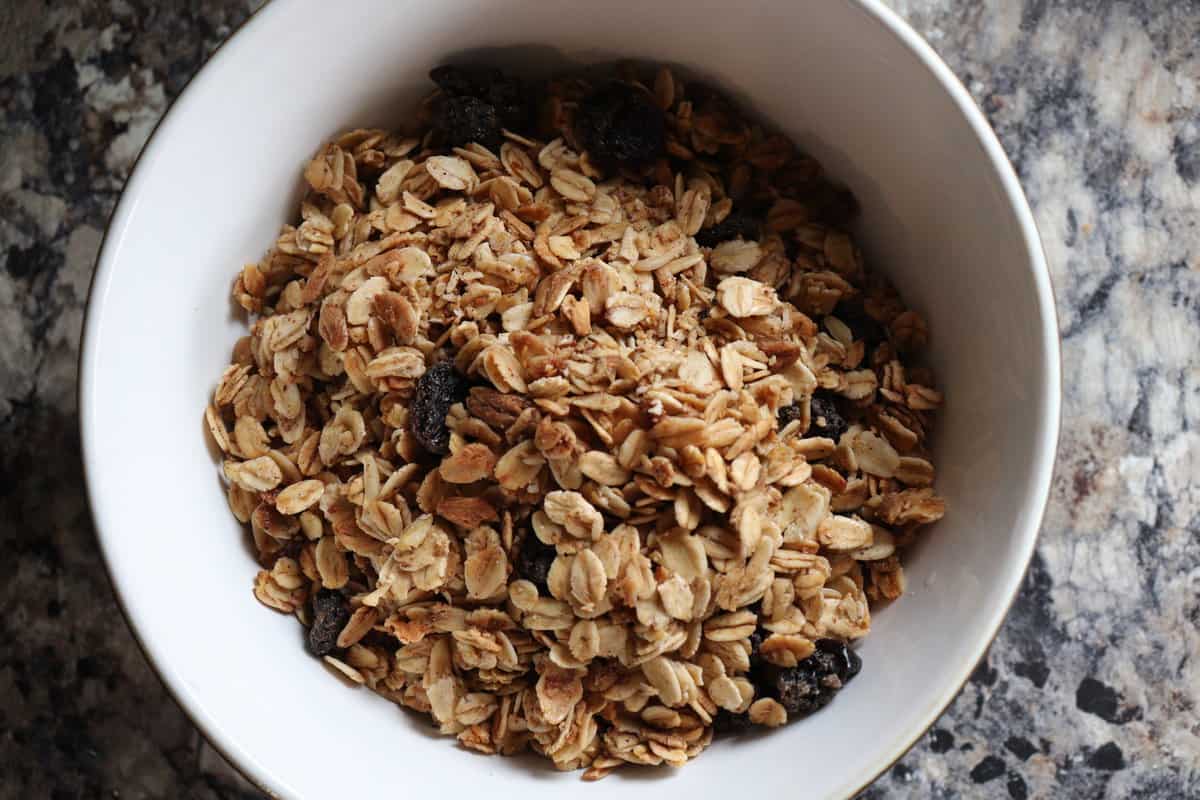
- In a medium bowl, combine the oats with the rest of the ingredients and mix until well combined.
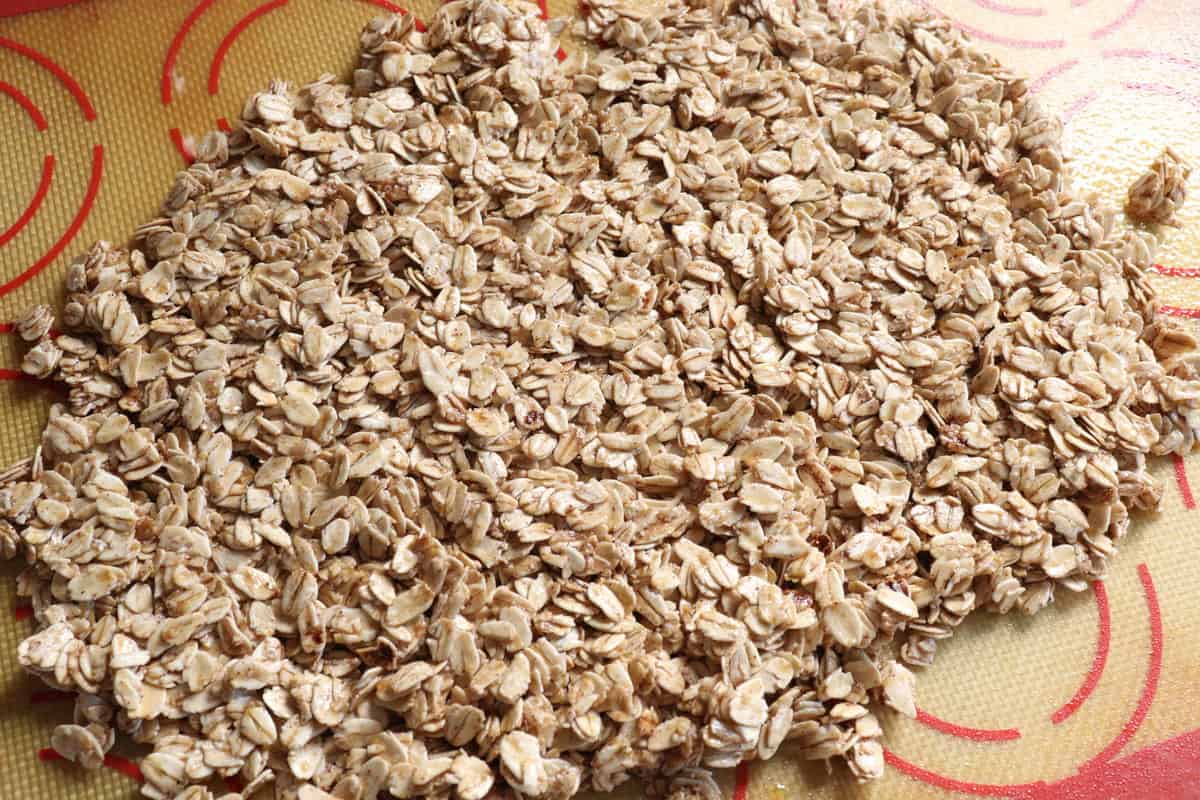
- Pour the granola mixture onto a well-greased sheet tray and spread it into an even layer.
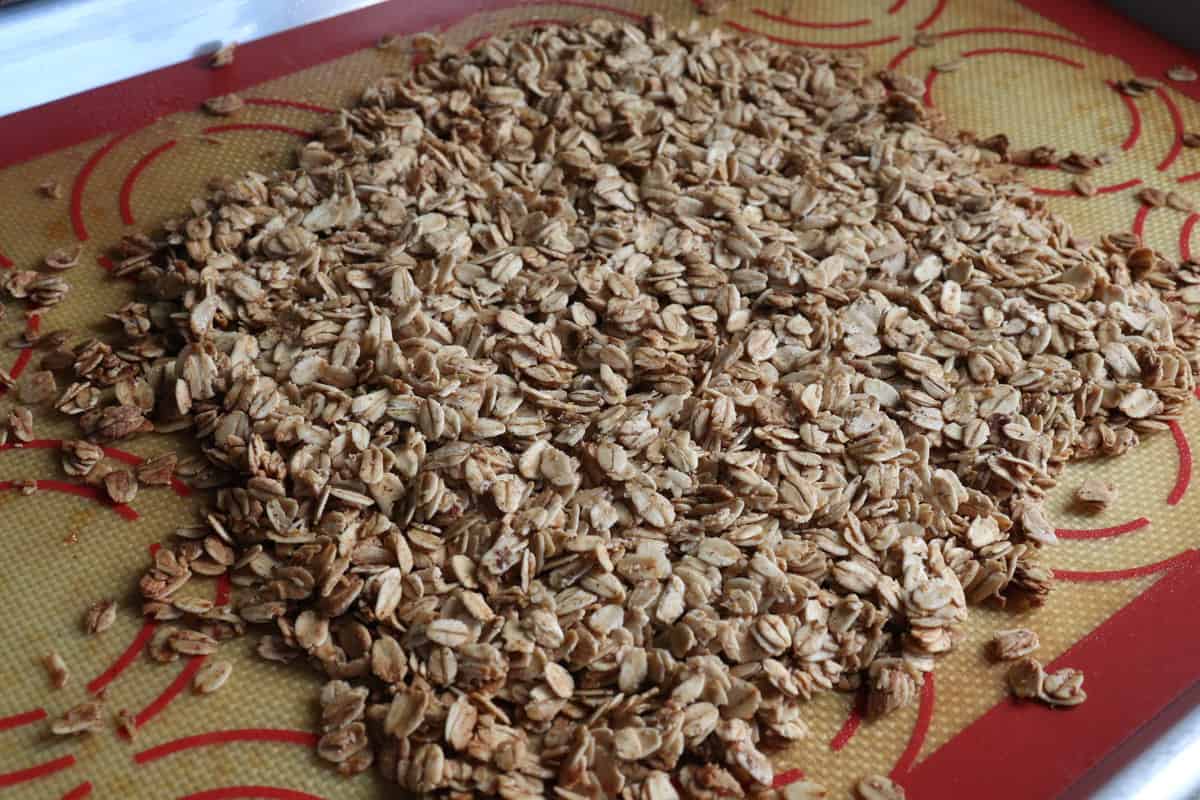
- Bake at 325°F for 30-40 minutes or until the oats are golden brown and toasted. Midway through baking, you can use the back of your offset spatula to press down on the granola. This helps them to cluster slightly, though this recipe isn’t made for clustered granola. Essentially, the pressing down step is optional.
- Once it has finished baking, let the granola cool at room temperature for at least an hour. Don’t expect the granola to be crispy out of the oven. It will crisp up as it cools.
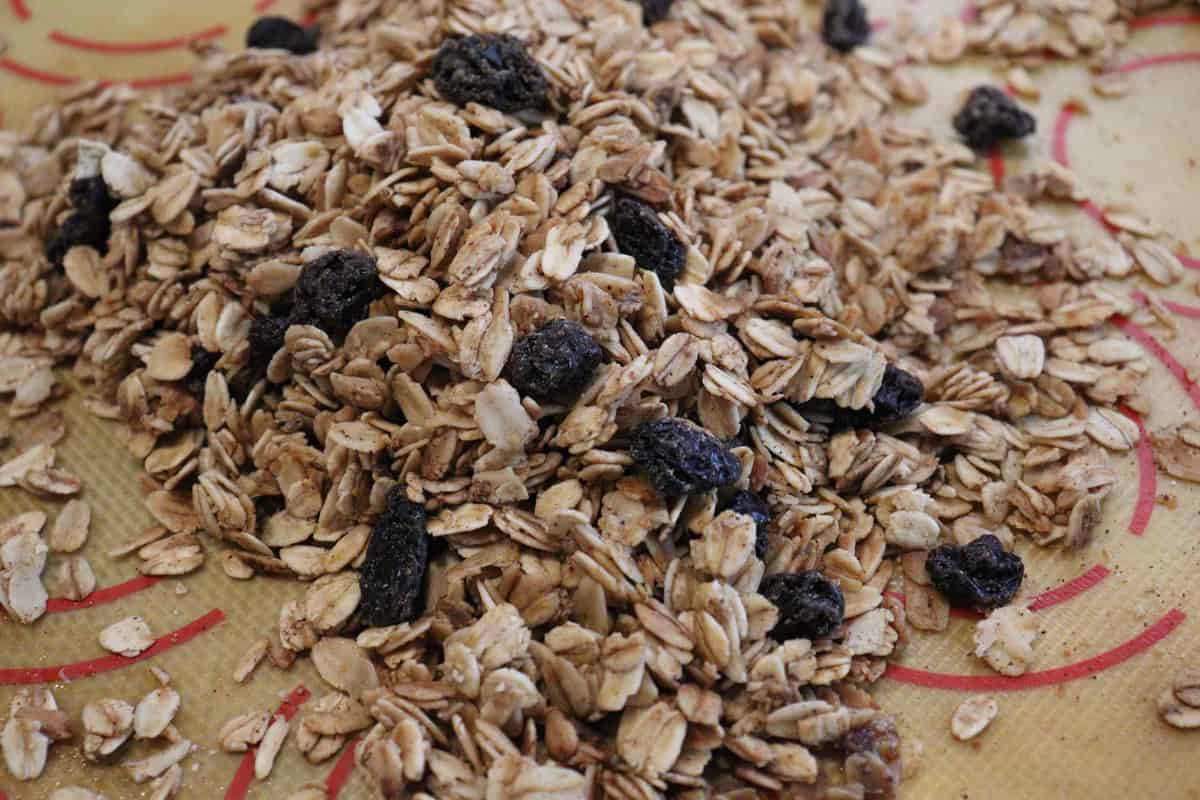
- Once the mixture has fully cooled, you can add your favorite add-in and mix to combine. Enjoy!
ADD-INS
- I chose to add raisins, but there are so many options you can use as an add-in for this recipe. Some of those options include pumpkin seeds, cranberries, walnuts, pecans, dried fruit, banana chips, orange zest, chia seeds, chocolate chips and so much more.
SUBSTITUTIONS
- Listen, I get it. This isn’t the “healthiest” granola, but I’ll claim it’s one of the tastiest. All in all, it’s pretty healthy. If you want it healthier, I’d leave out the brown sugar altogether. Also, instead of maple syrup, you can use coconut oil in its place. That helps the health meter just a bit, although I much prefer the maple version myself. These are just a few substitution recommendations.
SOME MORE GREAT BREAKFAST RECIPES:
Homemade Granola Mix
Ingredients
Granola Mix
- 1/4 cup vegetable oil or any neutral oil you can also use olive or coconut oil
- 1 1/4 cup rolled oats
- 1/2 teaspoon salt
- 1 teaspoon vanilla extract
- 1/4 cup maple syrup you can use coconut oil in its place
- 1/2 teaspoon ground cinnamon
- 1/4 teaspoon light brown sugar optional
- + Add-In of Your Choice
Add-In Options
- Raisins chocolate chips, seeds, nuts, etc.
Instructions
- In a medium bowl, combine the oats with the rest of the ingredients and mix until well combined.
- Pour the granola mixture onto a well-greased sheet tray and spread into an even layer.
- Bake at 325°F for 30-40 minutes or until the oats are golden brown and toasted.
- Once it has finished baking, let the granola cool at room temperature for at least an hour. It will crisp up as it cools.
- Once the mixture has fully cooled, you can add your favorite add-in and mix to combine. Enjoy!